Unmoored World |
|---|
 |
Unmoored World is an endgame-only area in Dragon's Dogma 2. The Unmoored World is a secret and missable area in Dragon's Dogma 2, which is only accessed when you choose to stab yourself near the heart of the dragon during the Main Quest, Legacy. Several side quests and trophies/achievements take place there.
The Unmoored World in Dragon's Dogma 2
It is accessed by completing the third, secret ending to the main quest Legacy. You will awake in a new dark version of the world where the sun is blocked out by fog and there is no water. All of the oceans and rivers are dried up and can be explored to find numerous treasures, including a great deal of ferrystones. High level monsters can be encountered in these areas of the unmoored world, including many that are hard to find in the standard world. There is some unique equipment found as loot in the unmoored world that cannot be obtained in the standard world.
Most side quests from earlier in the game will no longer be available in the unmoored world, but towns will otherwise go about their normal business and offer the same services and merchants, with the exception of Oxcart service being discontinued. Any time sensitive items in storage upon entering the Unmoored world will decay to their rotted state. Equipment merchants will carry new stock of higher powered weapons and armor. Each town will have a new quest to evacuate to the Seafloor Shrine settlement. Once you complete the evacuation quest for a town, its goods and services will move to the Seafloor Shrine and you will need to rest at an inn to complete the transfer. Please note that you cannot rest more than 12 times in the unmoored world. Rest benches are also unavailable.
The unmoored world has up to four red pillars of light that mark the location of bosses. The world will persist until all red pillars have been interacted with and the bosses have been defeated. As such, you should make sure to conclude any business you have in the unmoored world prior to interacting with the final red pillar (located in Seafloor Shrine).
You will have the option to start a new game plus with all of your previous skills, equipment, and storage after defeating the final boss. Note that starting a NG+ will pass time in your storage and every item will rot.
Dragon's Dogma 2 Unmoored World Maps and Notes
- You can't rest as much as you want while in Unmoored World (exact number not known but +/- 10). If you rest too much, you will reach a breaking point, making it impossible to rest.
- You can abuse Wakestones to refill your health and avoid resting.
- If you die (and don't use a Wakestone) you'll need to choose to hard reset to the first day of Unmoored World or the last time you slept. Be careful if you can't sleep anymore not to die and loose hours of progress and farm on your last day.
Dragon's Dogma 2 Unmoored World Guide
How to Reach the Unmoored World in Dragon's Dogma 2?
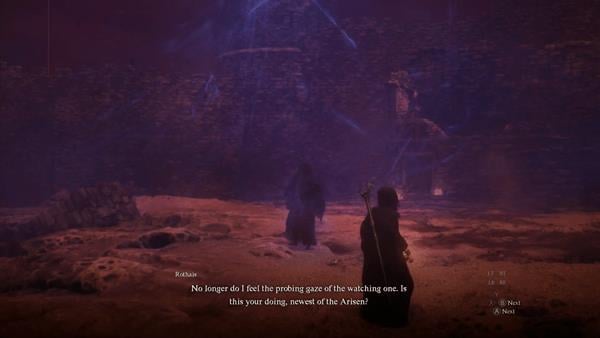
During the Legacy Main Quest, approach the dragon and proceed to attack it to trigger the final battle. The Dragon will first lift you and carry you towards the final battle area. While on his back, open your inventory and select the Empowered Godsbane Blade. This will initiate your character to kill him/herself and will trigger a cutscene which will eventually lead to the Unmoored World.. A cutscene will play out showing the dragon's heart cracking after you stabbed yourself. The dragon eventually falls into the ocean including you. The Pathfinder speaks with you and lets you know that you have strayed. He is enraged because you disrupted the cycle of the Arisen. The cutscene ends and you wake up in the apocalyptic alternate version of the world you were exploring before, this is known as the Unmoored World. The surrounding areas are filled with red aura and the enemies here are more powerful than ever.
What Quests unlock in the Unmoored World?
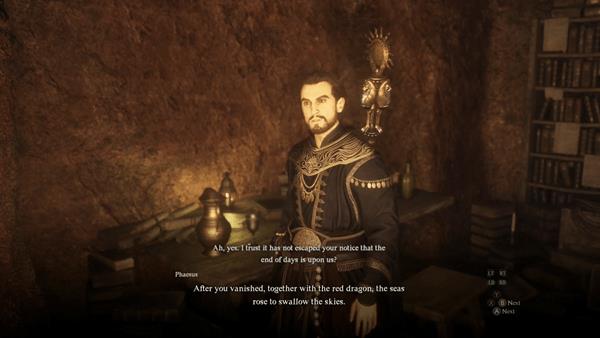
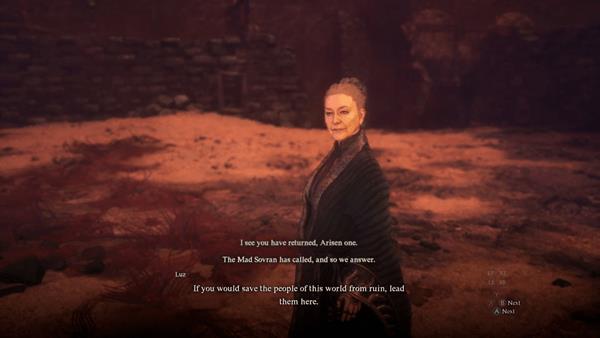
Once you've reached the Unmoored World, there are a number of Main Quests and Side Quests that will unlock.
Main Quests:
Side Quests:
- Civil Unrest
- The Importance of Aiding Ernesto
- Shepherd of the Pawns
- The Regentkin's Resolve
- Wandering Roots
Note : Some of the evacuation sidequests are different if you completed specific quests before.
The importance of Aiding Ernesto is affected by :
- Sotted Sage
- Lamond will accept to escort the couple if you completed his quest.
- Put a Spring in Thy Step
- Gaustfr will run instead or walking if you completed his quest.
The Regentkin's Resolve is affected by :
- The Ornate Box
- Every Rose has its Thorns
- Allard won't prevent you from buying oxcarts if you killed him during Wilhelmina's quest.
Wandering roots is affected by :
- The Ailing Arborheart
- Not doing this quest will prevent you from evacuating the city because the Arborheart is still sick.
Are Oxcarts still available for fast travel?
Within the Unmoored World, oxcarts are no longer accessible to players. There will be a significant number of Portcrystals scattered around the map, and in order to use them, Ferrystones are required. A greater number of Ferrystones will be dropped in the Unmoored environment, and you can get them from chests, bosses, and foes simultaneously!
Important Locations in the Unmoored World
There are 7 locations in the Unmoored World of Dragon's Dogma 2 that you need to take note of. These locations will play a keyrole in progressing through the quests and challenges that the Unmoored World will throw at you. The locations consist of:
- Seafloor Shrine - This is where you'll meet Rothais and Luz, and they will instruct you to bring the evacuees to this location during Halls of the First Dawn quest. You can also find Dragonforged here.
- Vernworth - This is one of the locations that you'll need to evacuate in the Unmoored World. This is also where the Vermund Purgener will spawn.
- Sacred Arbor - This is where the Sacred Arbor Purgener also spawns and this is the location where you'll need to evacuate the elves.
- Bakbattahl - This is where you'll find the red beacon where it spawns the Battahl Purgener. This is also one of the cities that you need to evacuate.
- Volcanic Island Camp - This is where the Volcanic Island Purgener spawns.
- Excavation Site - This is another location where you can evacuate the inhabitants. This is also where the final Purgener will spawn.
How does Time Work in the Unmoored World?
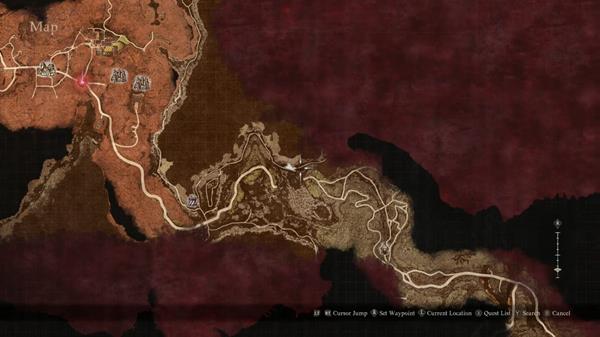
The only difference that the Unmoored World has compared to the earlier world is the time limit. When you first wake up in the Unmoored World and open your map, you'll notice that a red fog is slowly covering parts of the map starting at the outer portions. The time is limited because you'll have to evacuate the cities during the Halls of the First Dawn before the map is completely covered by the fog. You'll have approximately 10-12 in-game days to complete the quests before the whole map is swallowed up by the fog and you receive a special game over cutscene. However, the fog only truly advances upon resting at an inn or dwelling (camps can only be used to cook and set skills in the Unmoored World). Defeating the new bosses at the red pillars also serves to postpone the inevitable. Once the bosses have been defeated, a red pillar will appear in the Seafloor Shrine. At that point, the Player may stay in the Unmoored World indefinitely. It is important to note, however, that the Player may only rest a total of 12 times, meaning that enemies will eventually stop respawning. Should the Player struggle with balancing rests, the game will offer more Wakestones and Allheal Elixirs to restore maximum health, making it entirely possible to evacuate all citizens and defeat all bosses in one "day".
What Quests become unavailable once you enter the Unmoored World?
The main Point of no return quest in Dragons Dogma 2 is the quest Legacy when you choose the true ending where you get to the Unmoored world. When you do the true ending, your Inn saves will be lost and you're now prohibited from going back and completing the other quests that you have not completed before. Once you enter the Unmoored World, this will lock your save to this timeline and you cannot go back to the base game.
There are some Main Quests that will lock you out of content like Feast of Deception, A New Godsway, and The Guardian Gigantus. But these Quests only take away a few side quests.
- A Beggar's Tale
- A Game of Wits
- A Veil of Gossamer Clouds
- Dulled Steel, Cold Forge
- Gift of the Bow
- Mercy Among Thieves
- Put a Spring in Thy Step
- Saint of the Slums
- Spellbound
- The Gift of Giving
- The Sotted Sage
- Tolled to Rest
- Twixt a Rock and a Hard Place
Are there new bosses in the Unmoored World?
Yes, there are 5 new bosses available once you enter the Unmoored World. They are easily spotted by looking for the red beacons that are across each cities in the Unmoored World. These bosses are all dragon types and are much more complicated to battle than the Drakes that you've encountered in the past world. Defeating these bosses will delay the destruction of the Unmoored World. The 5 new bosses consist of:
Dragon's Dogma 2 All Unmoored World Gear Guide
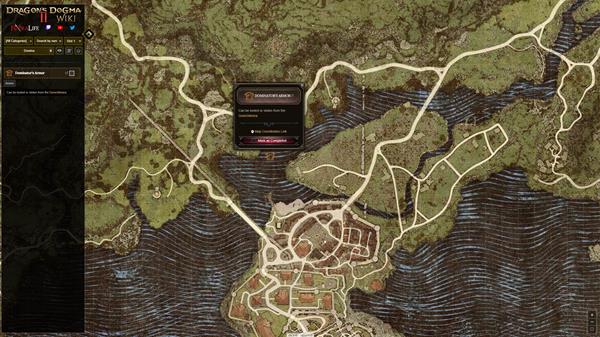
Where to Find Dominator's Armor in Dragon's Dogma 2
The Dominator's Armor can be dropped by the Gorechimera just Northwest beside Vernworth. This can only be retrieved in the Unmoored World. [DD2 Map Link]
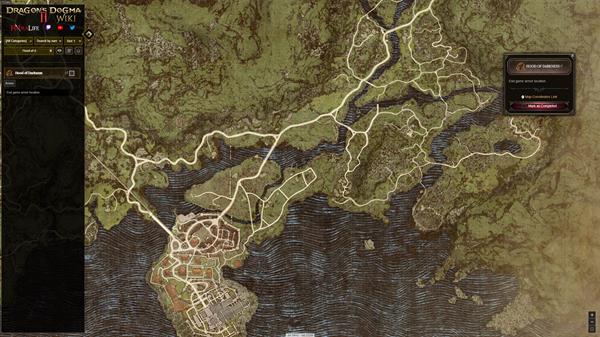
Where to Find Hood of Darkness in Dragon's Dogma 2
The Hood of Darkness can be located at the Nameless Village which is in the east side of Vermund. Head to the Nameless Village and make your way to the right side of the village, The Hood can be retrieved from a chest near the 3 houses by the rocks. [DD2 Map Link]
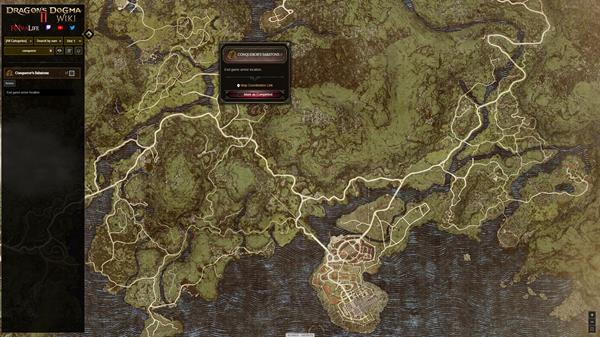
Where to Find Conqueror's Sabatons in Dragon's Dogma 2
The Conqueror's Sabatons can be located at the Marshland Settlement, just Northwest of Vernworth. From the Marshland Settlement, head left and you'll find a big hole that you can drop into. Once you drop in, you can find a passage way that leads underground and you'll find a chest here that contains the Conqueror's Sabatons. [DD2 Map Link]
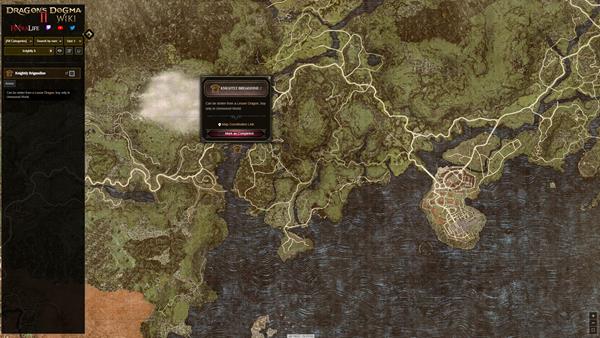
Where to Find Knightly Brigandine in Dragon's Dogma 2
To get the Knightly Brigandine armor, you must defeat a Lesser Dragon that is located near the Bridge of Theodracus The Second area. The lesser dragon will drop this armor upon killing it. [DD2 Map Link]
Where to Find Edified Vestment in Dragon's Dogma 2
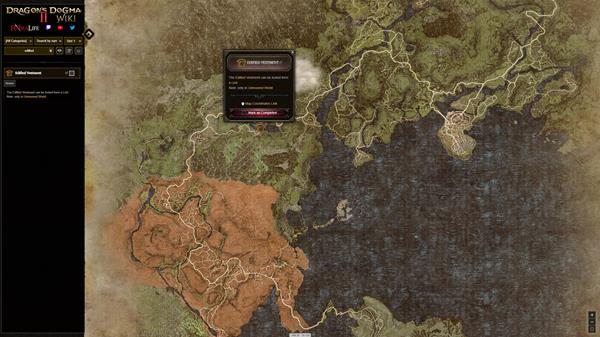
Near the Battahl Border, you can find the Edified Vestment dropped by the Lich near the Checkpoint Rest Town. Defeat the enemy and the enemy will drop the armor. [DD2 Map Link]
Where to Find Cardinal Robe in Dragon's Dogma 2
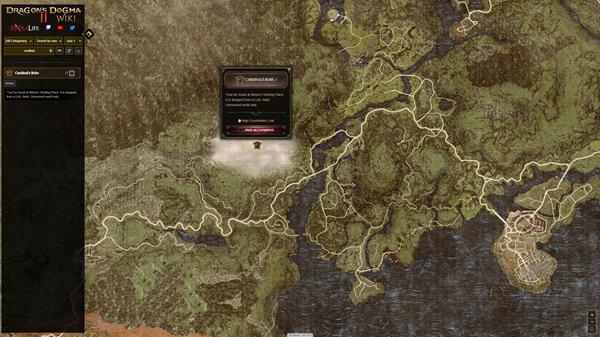
At the North West part of the Vermund Region, you can find the Cardinal Robe dropped by the Lich near the Abandoned Home area. Defeat the enemy and it will drop the armor. [DD2 Map Link]
Where to Find Promethean Hood in Dragon's Dogma 2
The Promethean Hood can be located southwest of Bakbattahl near the Wyrmsblood Forest. Can be found inside a special chest in the dried riverbed. [DD2 Map Link]

Where to Find Monarch's Crown in Dragon's Dogma 2
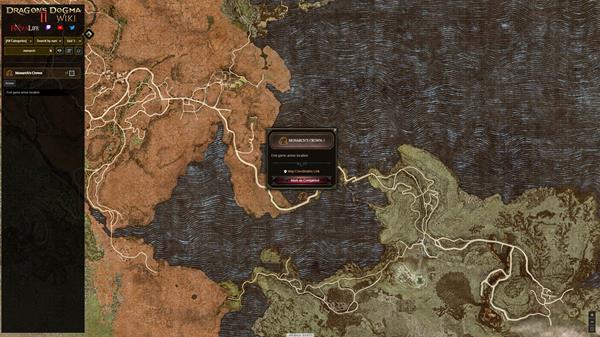
The Monarch's Crown armor can be found in the dried-up ocean in between the bath that connects Battahl to the Volcanic Island. Once you step out of Battahl, turn left and go down the dried-up ocean and you'll find a chest under a dried-up sea rock. Check the map link for the exact location. [DD2 Map Link]
Where to Find Godsbeast Scalecoat in Dragon's Dogma 2
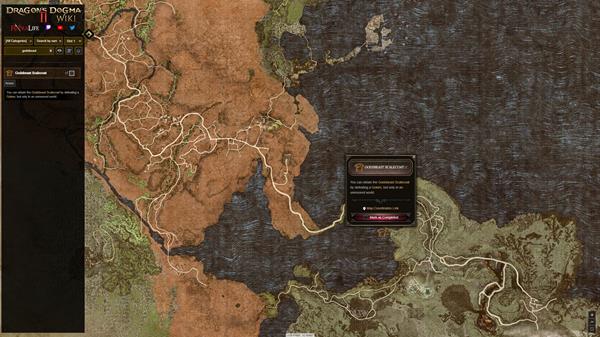
To get the Godsbeast Scalecoat, you'll need to defeat the elite golem in unmarked cave south of Riftstone of Uniformity during endgame [DD2 Map Link]
Where to Find Summoner's Crown in Dragon's Dogma 2
The Summoner's Crown can be located just South West of Vernworth near the Vernworth - Southern Ruins inside a chest. This can only be retrieved in the Unmoored World. [DD2 Map Link]
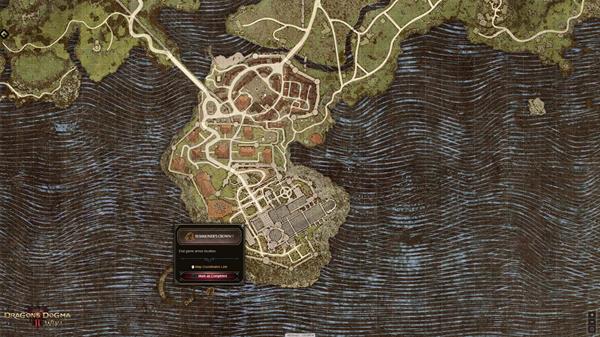
Where to Find Predator's Maw in Dragon's Dogma 2
The Predator's Maw can be retrieved from a chest that is located in the Mountain Ruins at the North Side of the Vermund Region. [DD2 Map Link]
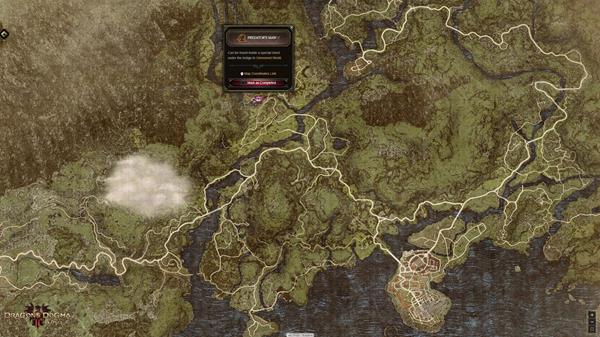
Where to Find Vanguarder's Greaves in Dragon's Dogma 2
The Vanguarder's Greaves armor can be located inside the Guerco Cavern cave which is at the West Side of Vermund near the North entrance of Battahl. Head straight down the cave and evade the enemies that are guarding the cave. Once you've crossed the wooden bridges inside the cave and manged to get to the open area, you'll find a chest beside a lesser Dragon which contains the armor. [DD2 Map Link]
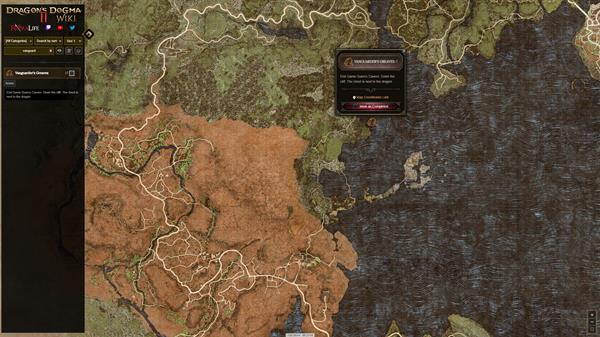
Where to Find Agamenian Galea in Dragon's Dogma 2
Near the Battahl Border, west of Vermund, you can find the Agamenian Galea at the map location linked and once you arrive at this location, you can find a chest containing the armor inside a very small cave. Northeast lake of Checkpoint Rest town. [DD2 Map Link]
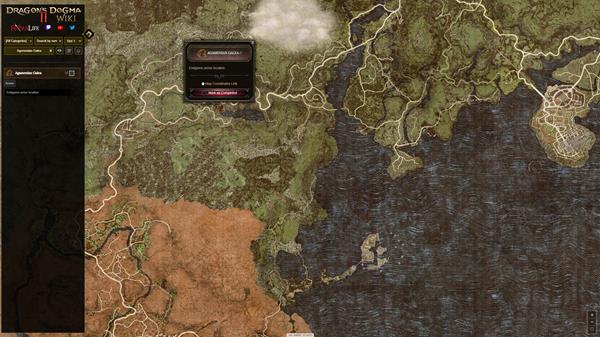
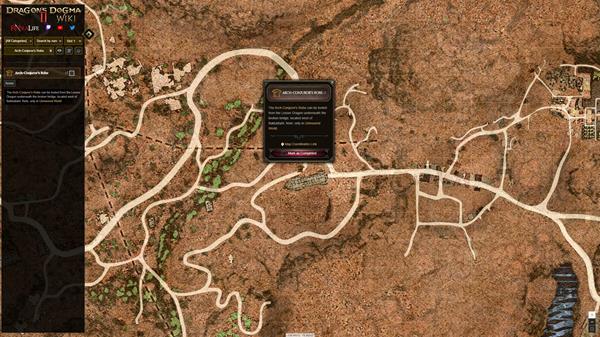
Where to Find Arch-Conjuror's Robe in Dragon's Dogma 2
The Arch-Conjuror's Robe can be retrieved by defeating the Lesser Dragon near the Bakbattahl area. Defeating this enemy will drop the robe. [DD2 Map Link]
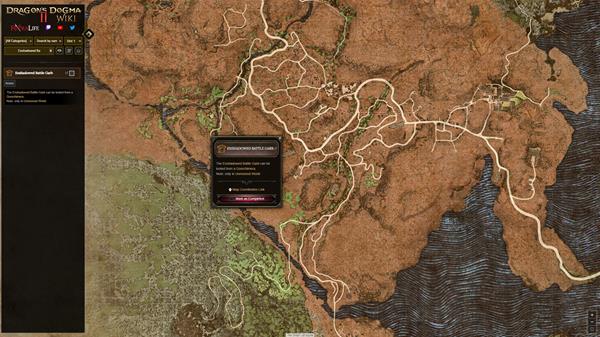
Where to Find Enshadowed Battle Garb in Dragon's Dogma 2
The Enshadowed Battle can be looted from a Gorechimera. You can find one Southwest of Bakbattahl in the Dried river near Wyrmsblood Forest. [DD2 Map Link]
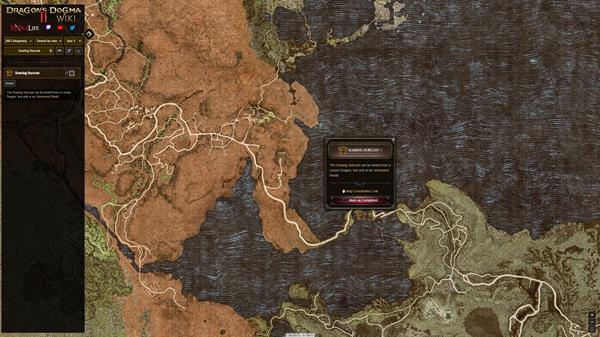
Where to Find Soaring Surcoat in Dragon's Dogma 2
The Soaring Surcoat can be located in between the Battahl region and the Volcanic Island. It will be dropped by a Lesser Dragon in this area. Looted off Lesser Dragon located at Moonswax Bridge during endgame.[DD2 Map Link]
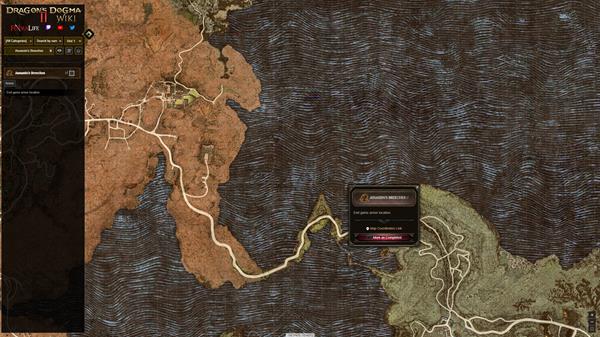
Where to Find Assassin's Breeches in Dragon's Dogma 2
These pants can only be found in the unmoored world. They are found in a chest in the ground just a short way southwest of the Riftstone of Uniformity (maybe 100 meters away) right where the dried sea begins. The Riftstone of Uniformity is found directly east of Portcrystal: Agamen Volcanic Island and northwest of Volcanic Island Camp along the main road. [DD2 Map Link]
 Anonymous
MAKE SURE u use madusa hed items as they will be rotten when you start unmoored world EVEN IF THEY ARE STORED

 Anonymous
Uhhh ok I was adding a bit of information about time sensitive items decaying to their rotted state in unmoored world but for some reason the page now looks totally messed up. I have no idea how I did it but yea. Sorry! Someone who knows how please assist!

 Anonymous
So if we complete these 4 so called "Red Pillar Trials" we can stay in the world longer? Like just traverse in the end game world? I hate having to reset after I missed out on so much good stuff playing this game blind until now...

 Anonymous
Promethean Hood's map is wrong and the Vanguader's Greaves is guarded by a Drake instead of a Lesser Dragon

 Anonymous
 Anonymous
Important note, all your perishables will rot upon entering this world, make sure to convert your fruits and meats into dried / roborants before challenging the dragon, the medusa head and flowers will also wither.

 Anonymous
Question: Can anyone confirm if dead npcs end up in the morgue during this phase?
(Like others, Menella died on me and she was nowhere to be found.)
 Anonymous
Armories, weapon smiths and general store all get upgraded stuff. *endgame* gear in a sense. You'll also be given plenty of Ferrystones. The guide should mention this.

 Anonymous
Man this wiki is srsly lacking so much info on so much stuff


make sure to use your madusa heads as they will be spoiled even if they are in storage
0
+10
-1